Excel is excellent at handling data. A user can not only present data uniquely but also control what data to present. As such, even in case of duplicates data, Excel offers solutions to remedy the issue.
The following article exclusively offers such solutions that can help Excel users into filtering out duplicates and remove them from their spreadsheets.
Table of contents
Finding and removing duplicates
The first method entails finding and then removing duplicate values from an Excel Spreadsheet. For that we will use the conditional formatting tool from Excel. The necessary steps are as such:
Step 1. First, run Excel and open the Excel sheet you want to edit.
Step 2. Then, select the data range you want to check for duplicates.
However, keep in mind that Excel can’t highlight duplicates in the Values area of a Pivot Table report.
Step 3. Now, go to the Menu bar and click on the Home tab (if you are not already there).
Step 4. After that, select Conditional Formatting from the drop-down menu.
Step 5. Next, click on Highlight Cells Rules.
Step 6. And select Duplicate Values.

Here the Duplicate Values window will appear.
Step 7. Thus, pick a format you want to apply to the duplicate value such as highlighting with a color.
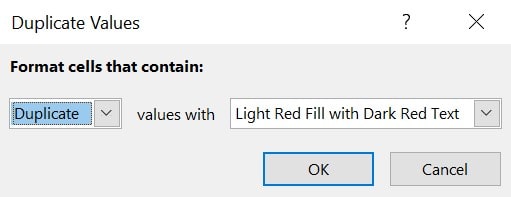
Step 8. Finally, you can decide whether to delete these entries or modify them as per your need.
Removing duplicates directly
This method doesn’t offer the user any choice as it directly deletes the duplicated entries. For this, we will use the Remove Duplicate feature. Hence, the steps are as follows:
Step 1. Start by launching Excel and opening the required spreadsheet.
Step 2. Then, select the range of cells you want to check.
Step 3. Now, go to the Menu bar and click on the Data tab.
Step 4. And then select Remove Duplicates.

Step 5. It will open a Remove Duplicates window.
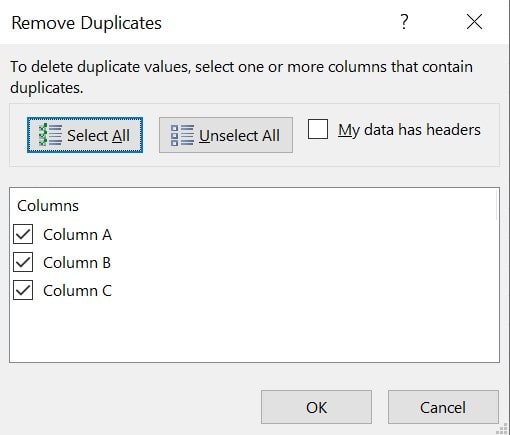
Step 6. Here, make the final adjustments like which columns to include or not by toggling the checkboxes given under Columns.
Step 7. Once done, click on OK to continue.
Filtering Unique values
Another way to approach the issues is by filtering unique values, leaving duplicates behind. The steps are:
Step 1. Select the data range for checking.
Step 2. Now go to the Menu bar and click on the Data tab.
Step 3. Then select Advanced in the Sort & Filter section.
Step 4. After that, users can either:
- Filter the data range as is in the same place by choosing Filter the list, in place option.
- Or, they can view the result in a different cell range by clicking on the Copy to Another Location option.
Step 5. Finally, check the Unique Records Only box and select OK.
The user can now decide how to deal with the remaining data.